
Learn how finish carpentry creates a cohesive, high-end home design through trim consistency, built-ins, transitions, and architectural details today. Call us now!
Discover finish carpentry upgrades that transform your home without a full remodel. Trim, built-ins, stair details, and more for lasting value today. Call today!
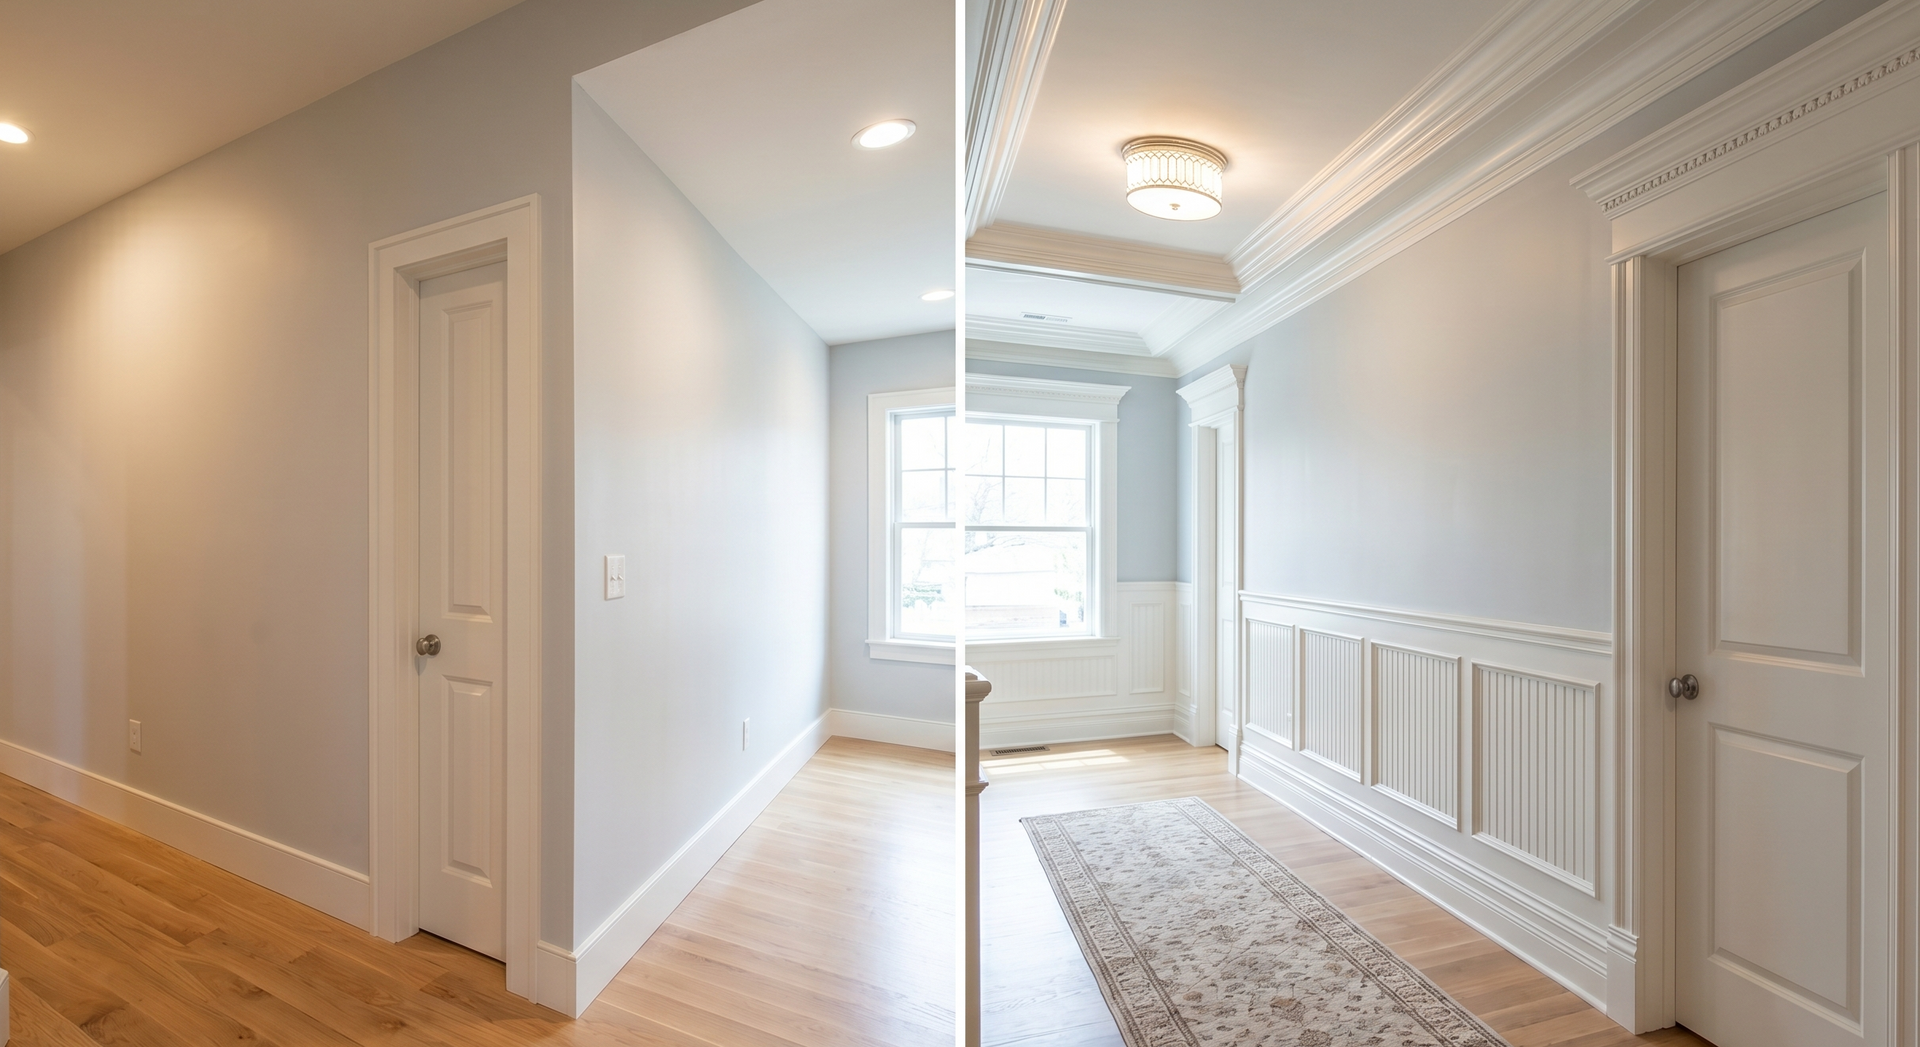
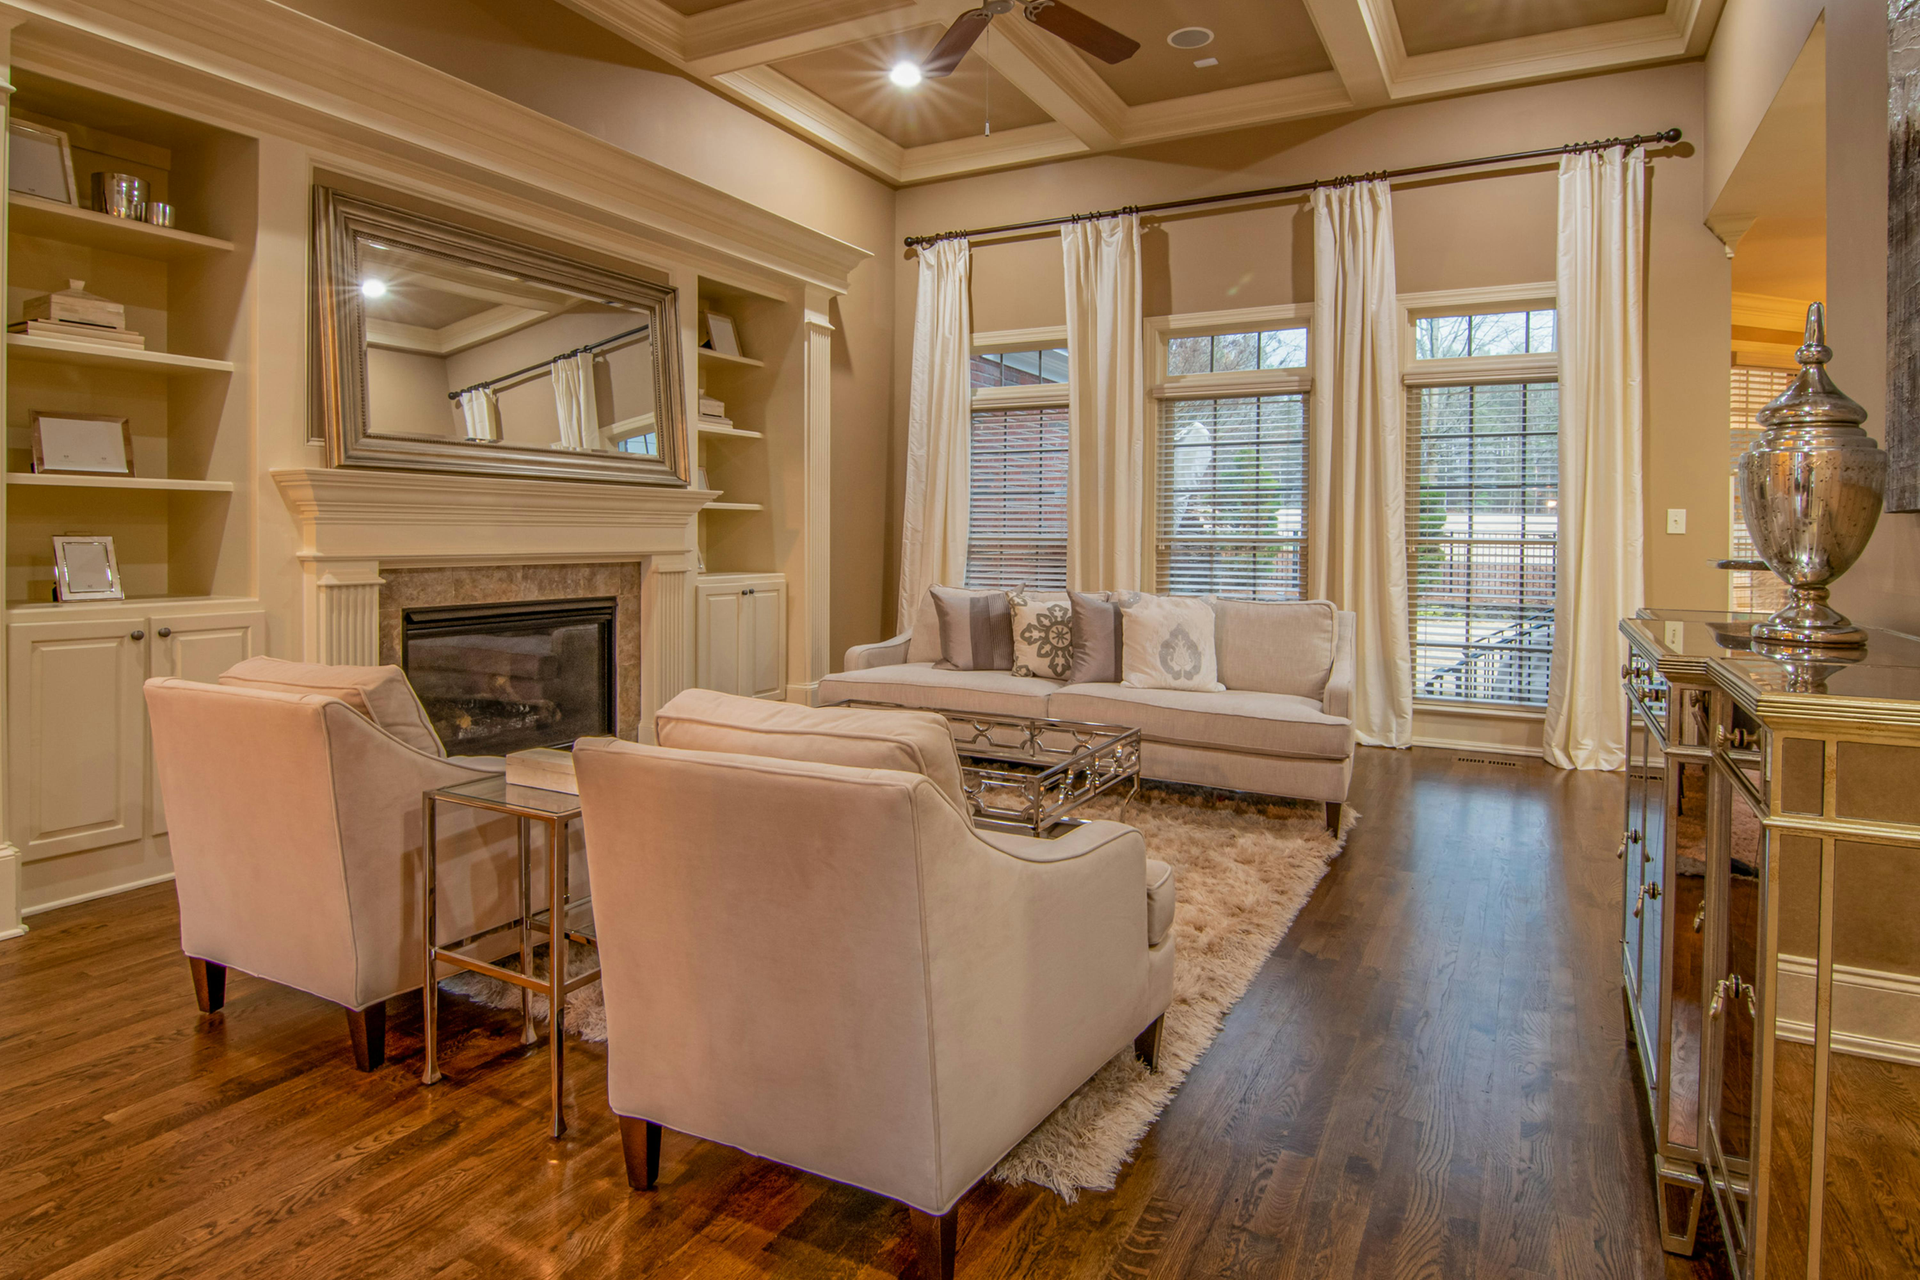
Learn the difference between custom trim and standard trim, including cost, durability, appearance, and long-term value for your home improvement project today.
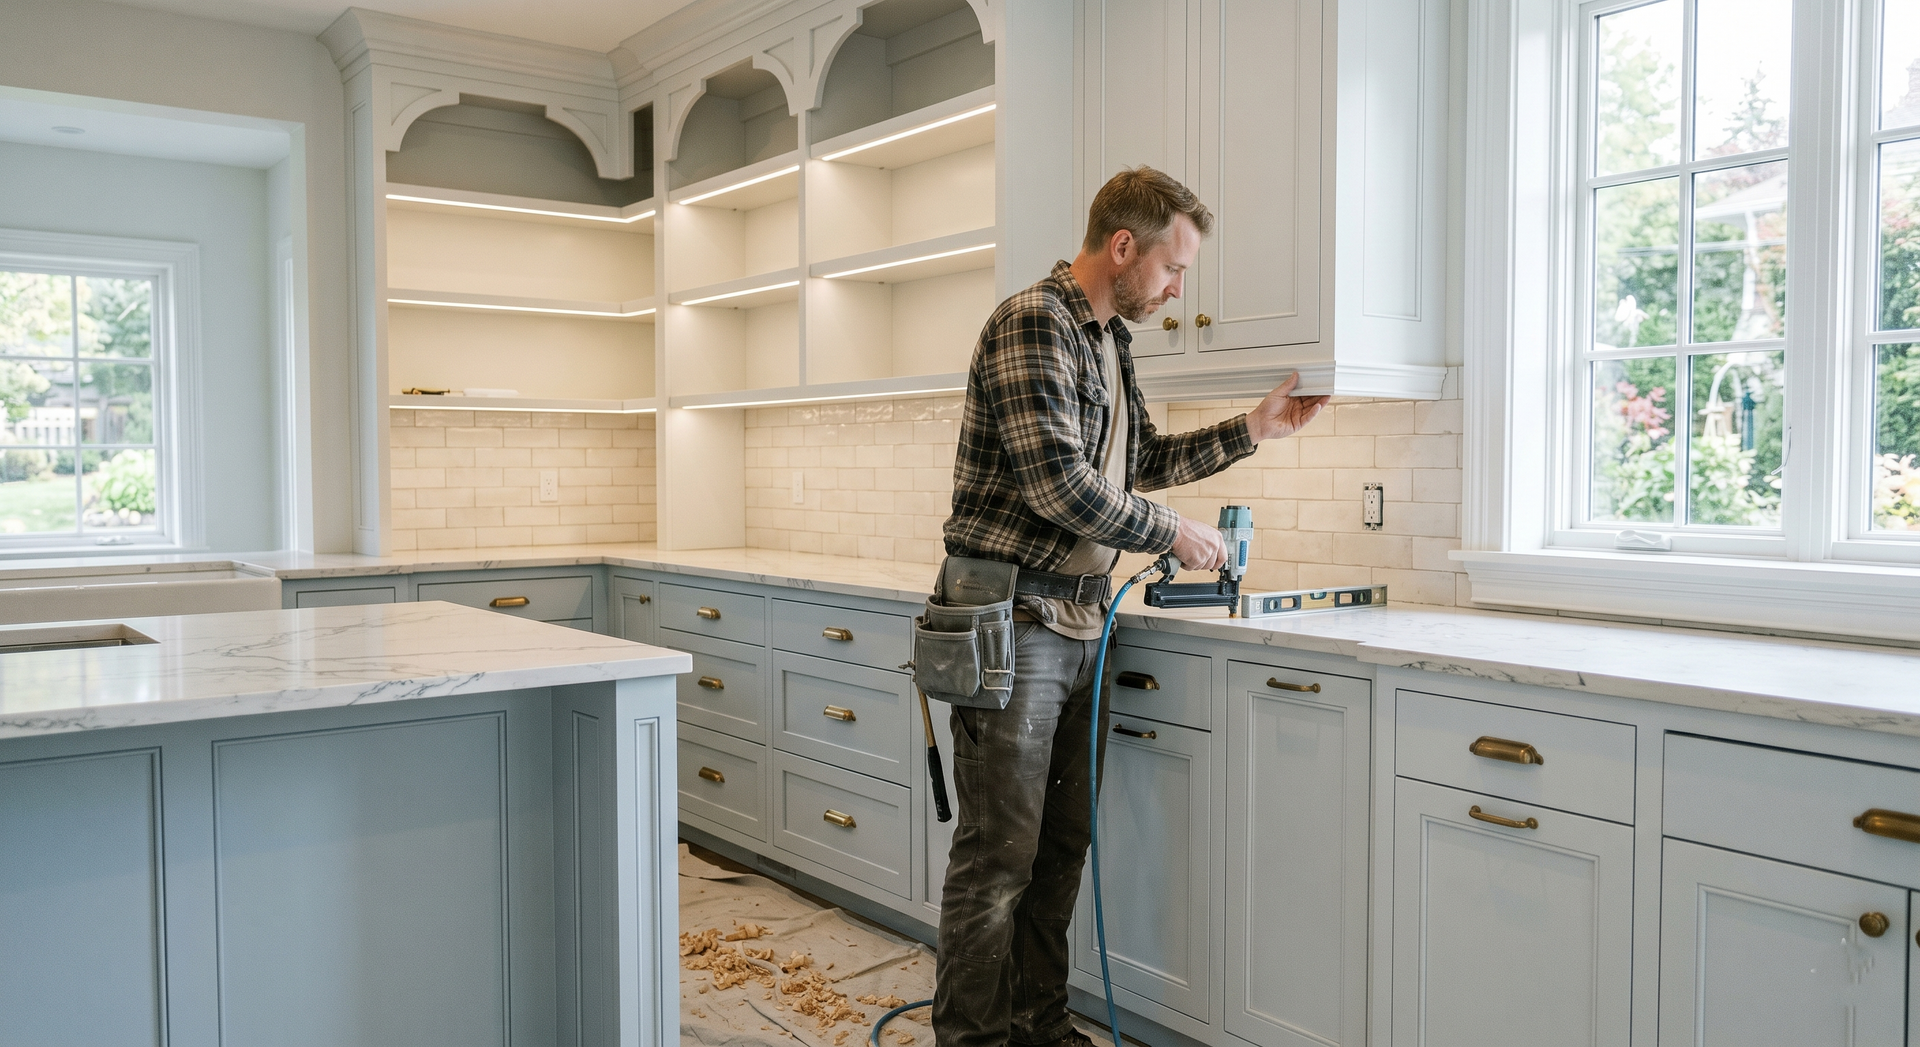
Discover how finish carpentry transforms kitchens through trim, built-ins, islands, and architectural details beyond cabinets and counters for custom style now!
Learn why material selection is critical in finish carpentry and how wood quality affects durability, appearance, maintenance, and long-term value for your home.!!

Learn how custom finish carpentry helps homeowners age in place safely and comfortably with accessible features, while maintaining a beautiful, high-end home design.
Learn how to properly care for and maintain custom finish carpentry. Simple tips to protect trim, built-ins, and cabinetry for decades.
Learn how finish carpentry reduces noise and echo in your home. Discover how trim, built-ins, paneling, and architectural details improve acoustics and comfort.
Learn the key differences between builder-grade and custom finish carpentry, and why expert craftsmanship makes a lasting impact on quality, detail, and home value.

Learn how custom finish carpentry increases resale value, buyer appeal, and long-term equity for homes in Hill City and Rapid City, SD.